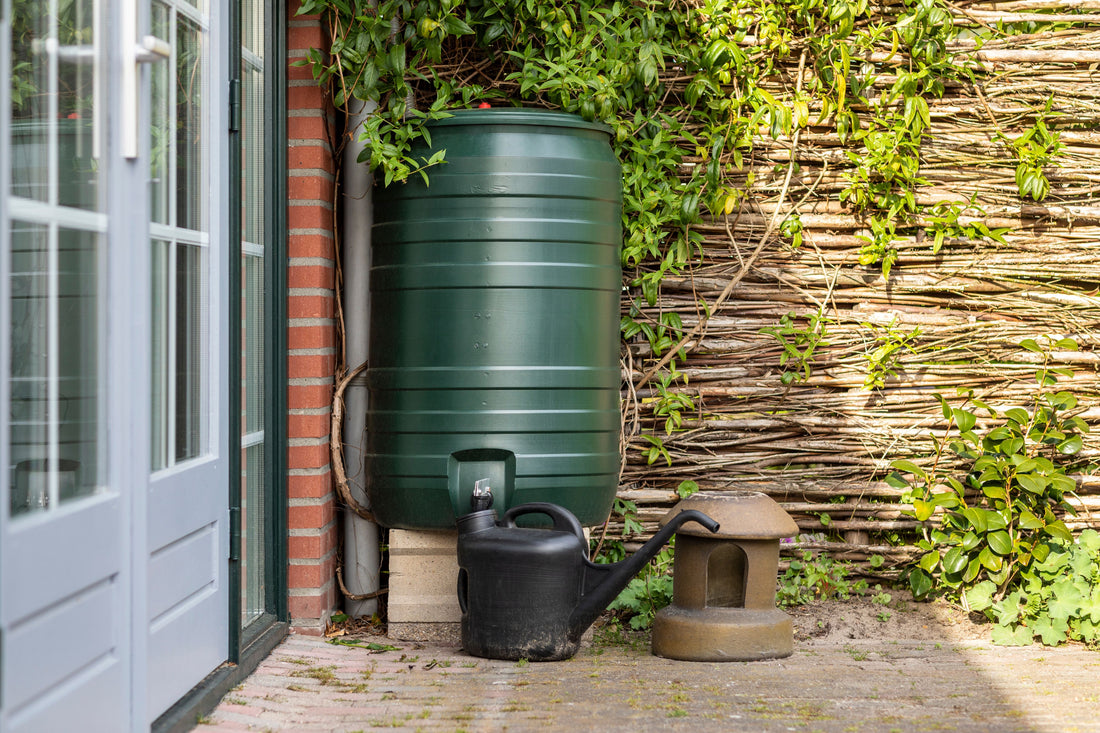
Harvesting Rain: A Step-by-Step Guide to Installing a Water Butt
Water is a precious resource and with more areas implementing hosepipe bans due to increasing temperatures it’s important we are not wasteful with our water supply.
It’s time to start thinking about saving rainwater ready for the garden’s thirstiest months. As our summers become hotter and drier, many lawns are not surviving due to lack of water.
The UK weather is unpredictable, but we can all agree we do experience a lot of rainfall. Installing a water butt allows us to catch this rain and feed our lawns throughout the dry weather.
Benefits of a water butt
- Reduces water waste and saves money.
- Plants prefer rainwater to tap water.
- Environmentally friendly.
- Water your garden during dry periods.
How to install a water butt
- It’s best to place your water butt on a flat surface beneath a convenient downpipe. You may need to elevate it to allow a watering can to fit underneath the tap.
- Mark the height of the water butt on the downpipe. You will then need to the cut the pipe from this mark using a hacksaw (most recommend around 3cm). Attach the rainwater diverter fitting to the cut section of the downpipe.
- Ensure you place the lid on top to stop any animals or insects from getting in.
- Now just wait for the rain!
(Most water butts will come with instructions and diverters)
Oasis Water Conserver
An essential innovation for drought conditions is our Oasis Water Conserver treatment. It helps reduce the amount of water your lawn needs – up to 80%. It helps your soil make the very best use of any available moisture whilst saving you time and energy. And what’s better is Oasis is now included in all our treatment programme!
Reference: How to install a water butt | The Wildlife Trusts

